By: Jennifer Provenza at Good Food From The Heart

Whole Food Plant Based, Oil Free, Sugar Free, Gluten Free
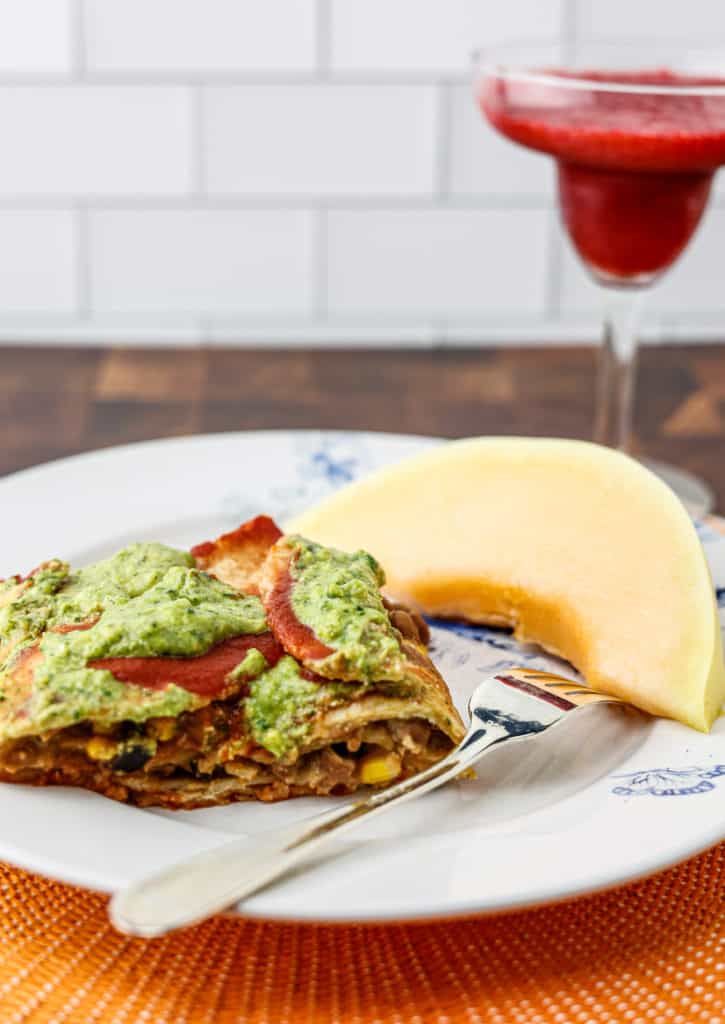
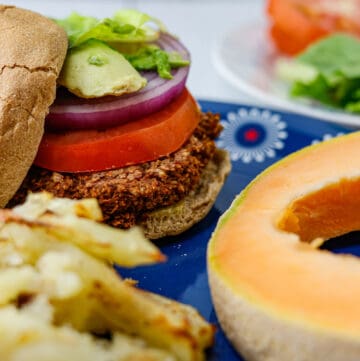
These oil free vegan burgers are the ultimate summer barbeque meal. Flavorful, filling, and gluten and soy free, these burgers will fulfill all your cravings and are nutritious too!
Burger Time, Baby!
One of our favorite summer meals (of course) are burgers! There is nothing like a delicious burger with tons of toppings, served with home fries or potato salad, some melon, maybe some corn on the cob. Mmmm… Don’t get me started. When I first stopped eating meat, I worried that it would mean leaving burgers behind. I was never a huge fan of a lot of the store bought veggie burgers. They are okay, but always seemed like a consolation prize. More recently, very authentic tasting imitation meat has entered the scene and, while those burgers are delicious, they leave a lot to be desired as far as healthiness. I have had some really delicious veggie burgers from restaurants but, unfortunately, they were usually fried and dripping in oil. No wonder they tasted so good! I had the opposite problem with a lot of veggie burger recipes I found. Over the years I have tried countless oil free burger recipes, but, sadly, they all seemed to have one thing in common. They were so bland. Some of them tasted pretty good without a bun, but once you added bread, it all tasted pretty blah. Adding condiments helped, but I felt I was basically only tasting the ketchup. So, I set out to create my own veggie burger based on ingredients I love that would be not only healthy, but flavorful. I am excited to say that I was successful in my quest.
These veggie burgers are so great because they are based on bean and sweet potato. The bean offers lots of protein, but the sweet potato makes it more filling and tasty. They also contain oats, which help hold them together and add healthy carbs which make them more filling as well. The nuts also add to the flavor and texture and provide even more protein. Finally, there are a lot of other additions that just pack in a ton of flavor. These are super umami, super flavorful, and super nourishing. They are also great to make ahead and freeze. Then you can just heat them up and have dinner on the table in a few minutes.
Ingredients
Oats: I use regular rolled oats, but feel free to use certified gluten free if necessary. Make sure not to get steel cut oats as they will not give a good texture. The oats help hold the burgers together and add some healthy carbs and heft.
Kidney Beans: I use canned kidney beans (rinse first). You can use any type of bean you want, though. Pinto would work well, as would black beans. The beans help hold the burgers together and add lots of protein.
Walnuts: Make sure to use raw, not roasted or salted. Hint: you can save money by buying walnut “pieces” which is fine since you will be blending it all up anyway. The walnuts give a great texture and flavor and add lots of protein and some healthy fat.
Roasted Red Peppers: I buy the jarred variety, but feel free to roast your own if you prefer.
Sweet Potato: Peel and cook first. Roasted potato will give a sweeter, richer flavor, but microwaved or boiled is fine too. These help bind the burgers and give a delicious flavor.
Sundried Tomatoes: These provide a delicious umami flavor. Don’t skip them! Be sure to get dried ones and not ones packed in oil.
Green Onions: These provide a great flavor. Use the green part only.
Nutritional Yeast: “Nooch” provides a great, “cheesy” flavor and lots of vitamin B.
Balsamic Vinegar: This adds a wonderful, tangy flavor. I use white balsamic.
Miso Paste: This also adds an incredibly delicious umami flavor. I prefer red miso, but you can also use white.
Tahini: The tahini adds richness and healthy fat and a great flavor.
Fresh Thyme: I used thyme because I had it on hand, but feel free to substitute another herb, such as rosemary, basil, or sage.
Dijon Mustard: The dijon adds a great tangy flavor.
Salt: I offer a recommended amount, but feel free to salt to taste.
Garlic: Fresh garlic will provide a great flavor and I much prefer it to garlic powder.
How To Make These Oil Free Vegan Burgers
These burgers could not be easier to make! Make sure to start by peeling and baking your sweet potato. (You could boil or microwave if you prefer). You could do this step up to a few days in advance. Also make sure to drain and rinse the can of beans. Then, simply put all of the ingredients in a food processor and pulse until the mixture holds together. It’s important to stop pulsing while you can still see visible peices of food and before it becomes just a paste. Err on the side of stopping early, as you can always pulse a few more times if necessary.
Next, refrigerate the mixture for about 20 minutes. Preheat your oven to 350 degrees while the mixture is chilling. I know, it’s so tempting to skip this step, but resist the urge. I swear, almost every time I used to make a veggie burger recipe, I would skip the fridge time and my burgers would always fall apart. Try to be more patient than I am and I promise you will get good results!
Finally, form the mixture into patties. I get six patties with this recipe. Feel free to double the recipe if you need more burgers. These also freeze great, so having extra is not a bad thing!
Put some parchment paper on a baking sheet and place the patties on the parchment paper. Bake for 25 minutes, turning the burgers over halfway through the cooking time.
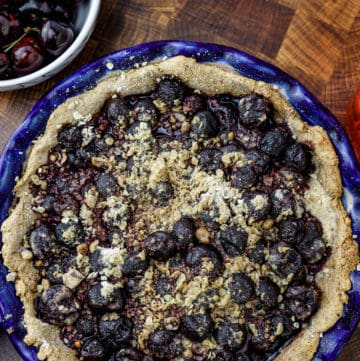
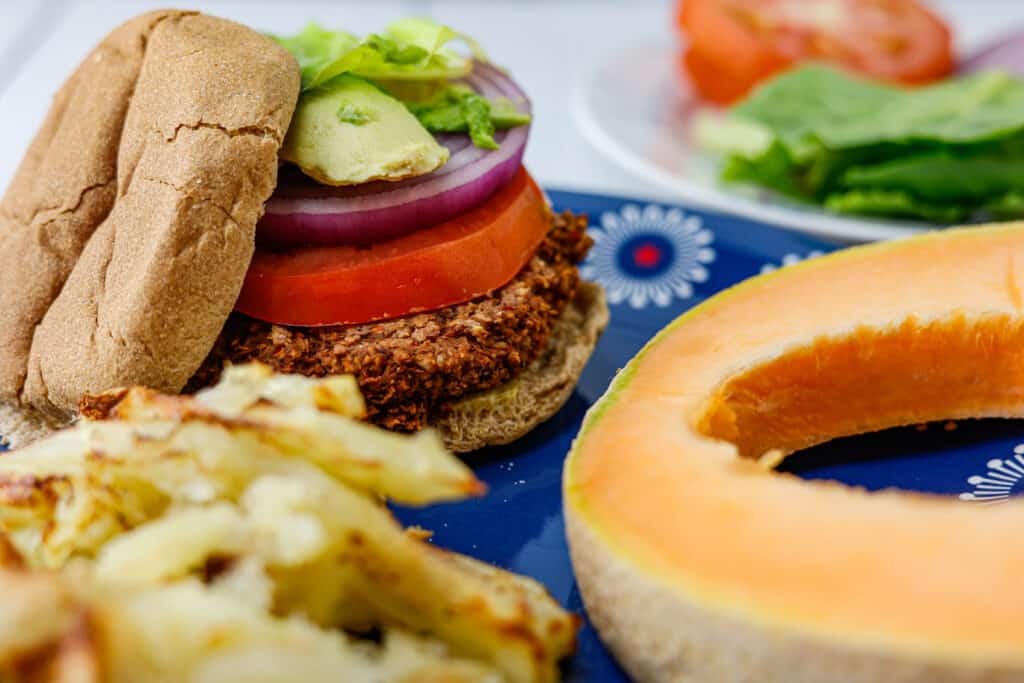
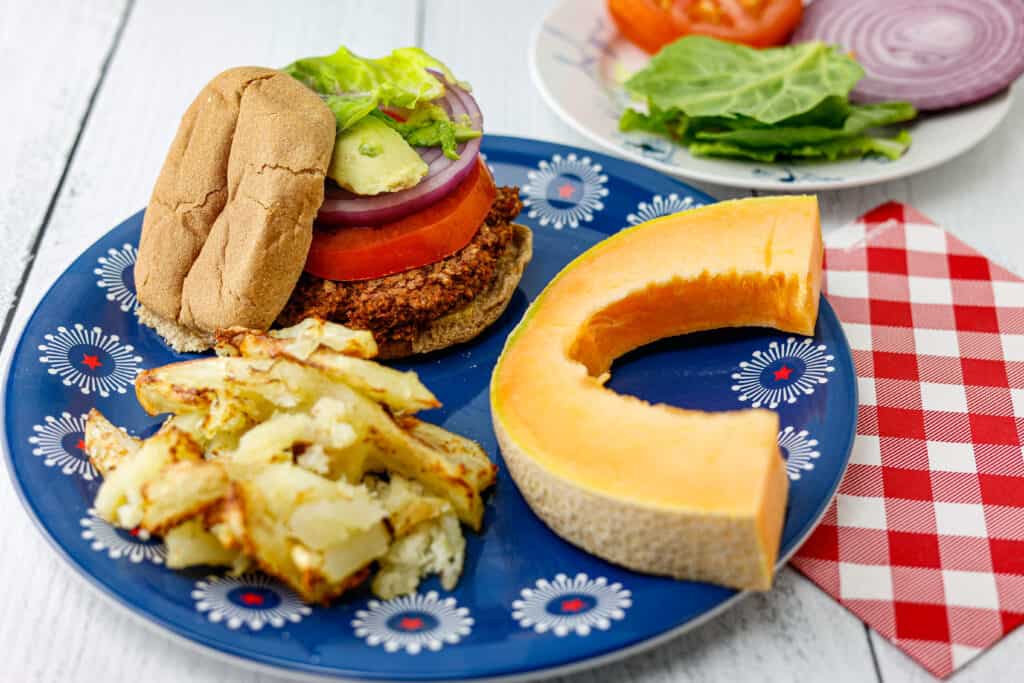
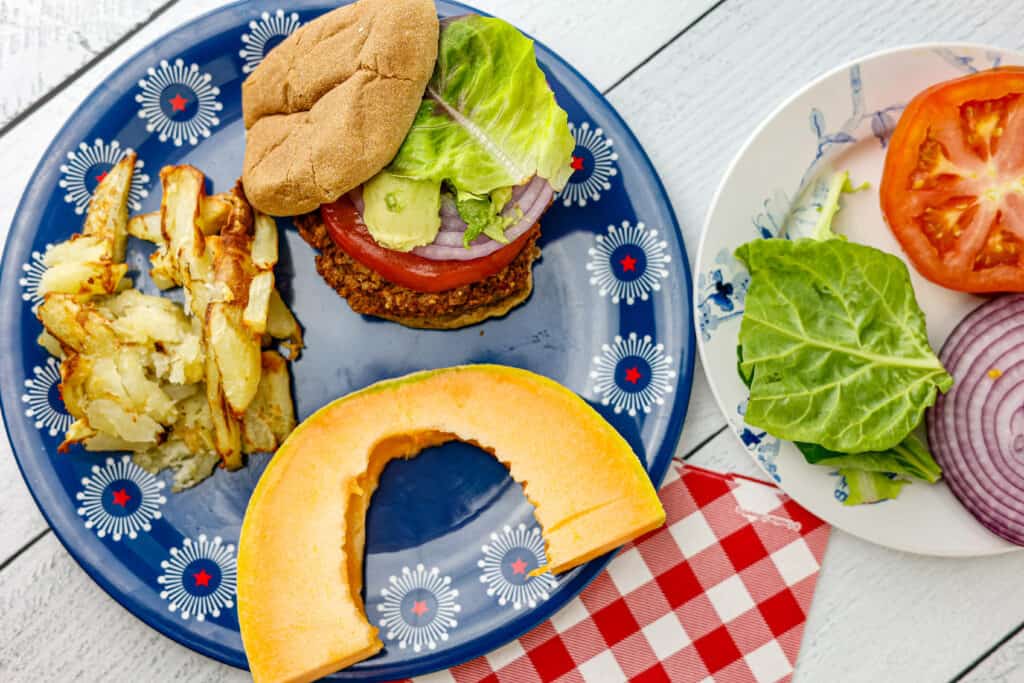
Serve the burgers on whole wheat or gluten free buns (or in a lettuce wrap) with lots of toppings. I like to top with tomato, red onion, lettuce, avocado, and mustard. These go great with home fries, fruit or salad. These are actually great on top of a salad too. Just crumble over the lettuce, top with veggies, and add dressing. Yum! These veggie burgers are delectable served with my Sugar Free Lemonade (Vanilla Bean and Rose Flavored). They would also be perfect with my Sugar Free Plant Based Mixed Berry Pie for dessert.
Oil Free Vegan Burgers
Equipment
- Food Processor
- baking sheet
Ingredients
- 1 cup oats certified gluten free if necessary
- 1 can kidney beans drained and rinsed
- 1/2 cup walnuts
- 1/2 cup jarred roasted red peppers
- 1/2 cup cooked sweet potato
- 1/4 cup sundried tomatoes
- 1/4 cup green onions
- 2 tablespoons nutritional yeast
- 1 tablespoon white balsamic vinegar
- 1 tablespoon miso paste
- 1 tablespoon tahini
- 1/2 tablespoon fresh thyme
- 1 teaspoon dijon mustard
- 1 teaspoon salt
- 1 clove garlic diced
For serving
- dijon mustard
- sliced pickles or dill pickle chips
- sliced tomatoes
- sliced red onion
- lettuce leaves washed and dried
- sliced avocado
- whole wheat or gluten free hamburger buns
Instructions
- Add all ingredients to the food processor and pulse until the mixture holds together.
- Preheat oven to 350 degrees. While the oven is heating, refrigerate the mixture for 20 minutes.
- Form the mixture into 6 patties and place on a baking sheet that is covered in parchment paper.
- Bake for 25 minutes, turning over halfway through the cooking time. Serve on whole wheat or gluten free buns topped with dijon mustard, pickles, tomatoes, red onion, lettuce, and avocado.
Follow me on Instagram @goodfoodfromtheheart and Pinterest at Good Food From the Heart and Facebook @GoodFoodFromTheHeart If you make this recipe, post it and be sure to tag me! Or Pin to Pinterest and make later.